
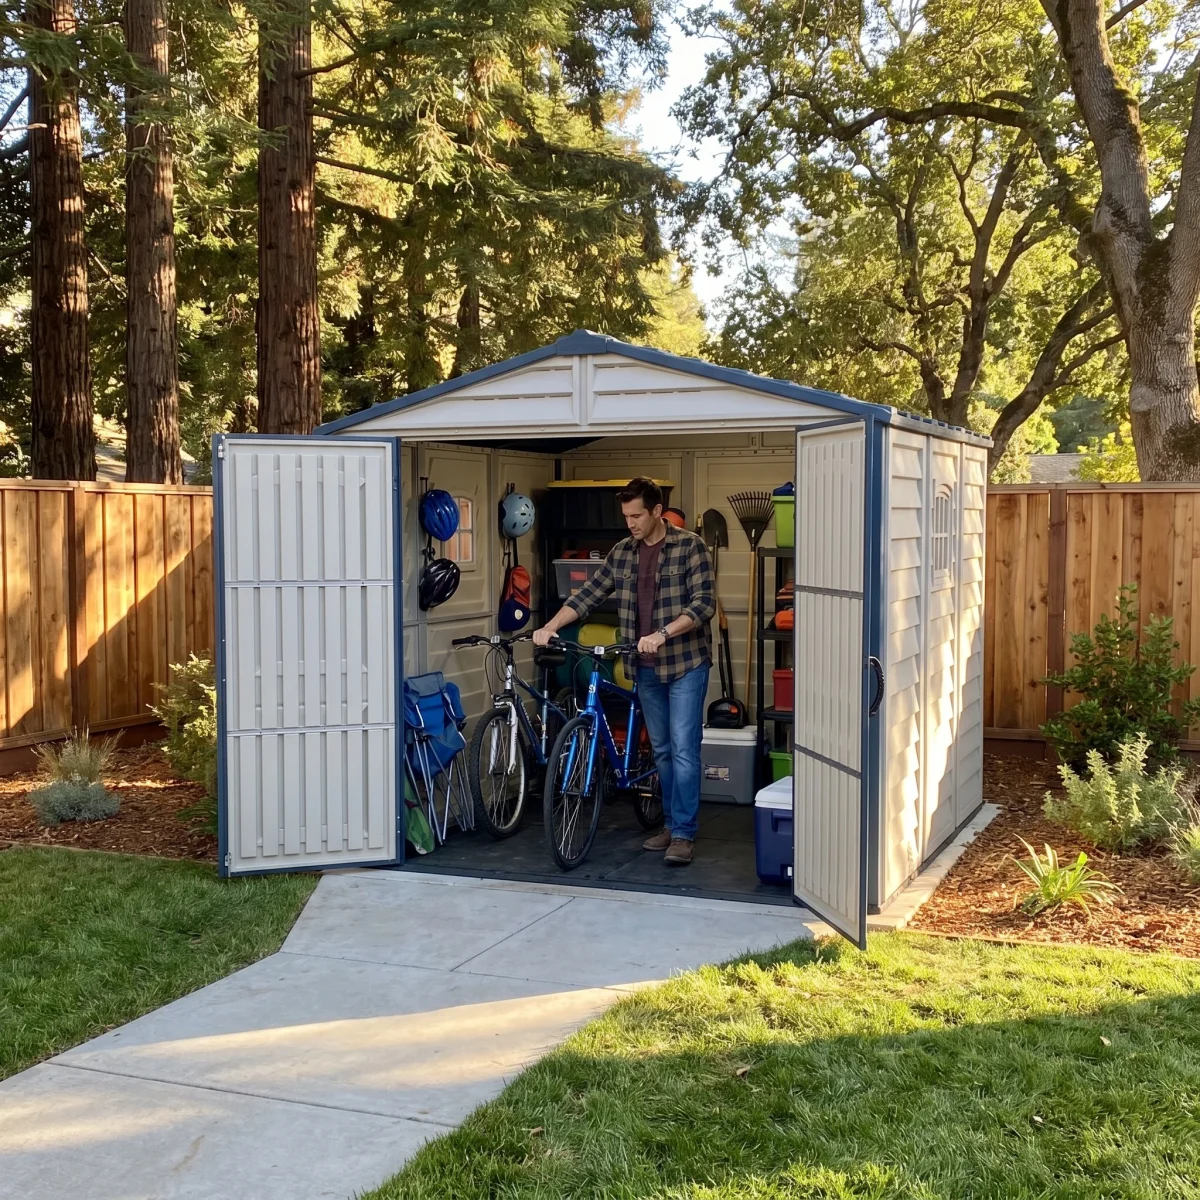
A bicycle storage shed works best when each bike can come out without an obstacle course. The right layout gives handlebars room to pass, leaves space for everyday gear and keeps the entrance usable—even when the household adds another bicycle.
Whether you are planning storage for a commuter bike, children’s bikes or a family cycling collection, start with the equipment you own and the way you use it. This guide explains how to compare shed layouts, measure access and organize bikes alongside garden and outdoor belongings.
What makes a good bicycle storage shed?
Look for a building with enough usable interior space, a practical door opening and an approach that works for your bicycles. A shed’s nominal size is only the starting point: the actual interior dimensions, door position and space outside the entrance determine how convenient it will be.
- Usable floor space: room for the bikes in their intended storage positions.
- Clear access: enough space to roll each bicycle through the doorway and into position.
- Gear storage: a designated place for pumps, helmets and riding accessories.
- A suitable layout: frequently used bikes remain accessible without moving seasonal equipment.
- Model-specific installation planning: the base, flooring and anchoring suit the selected building.
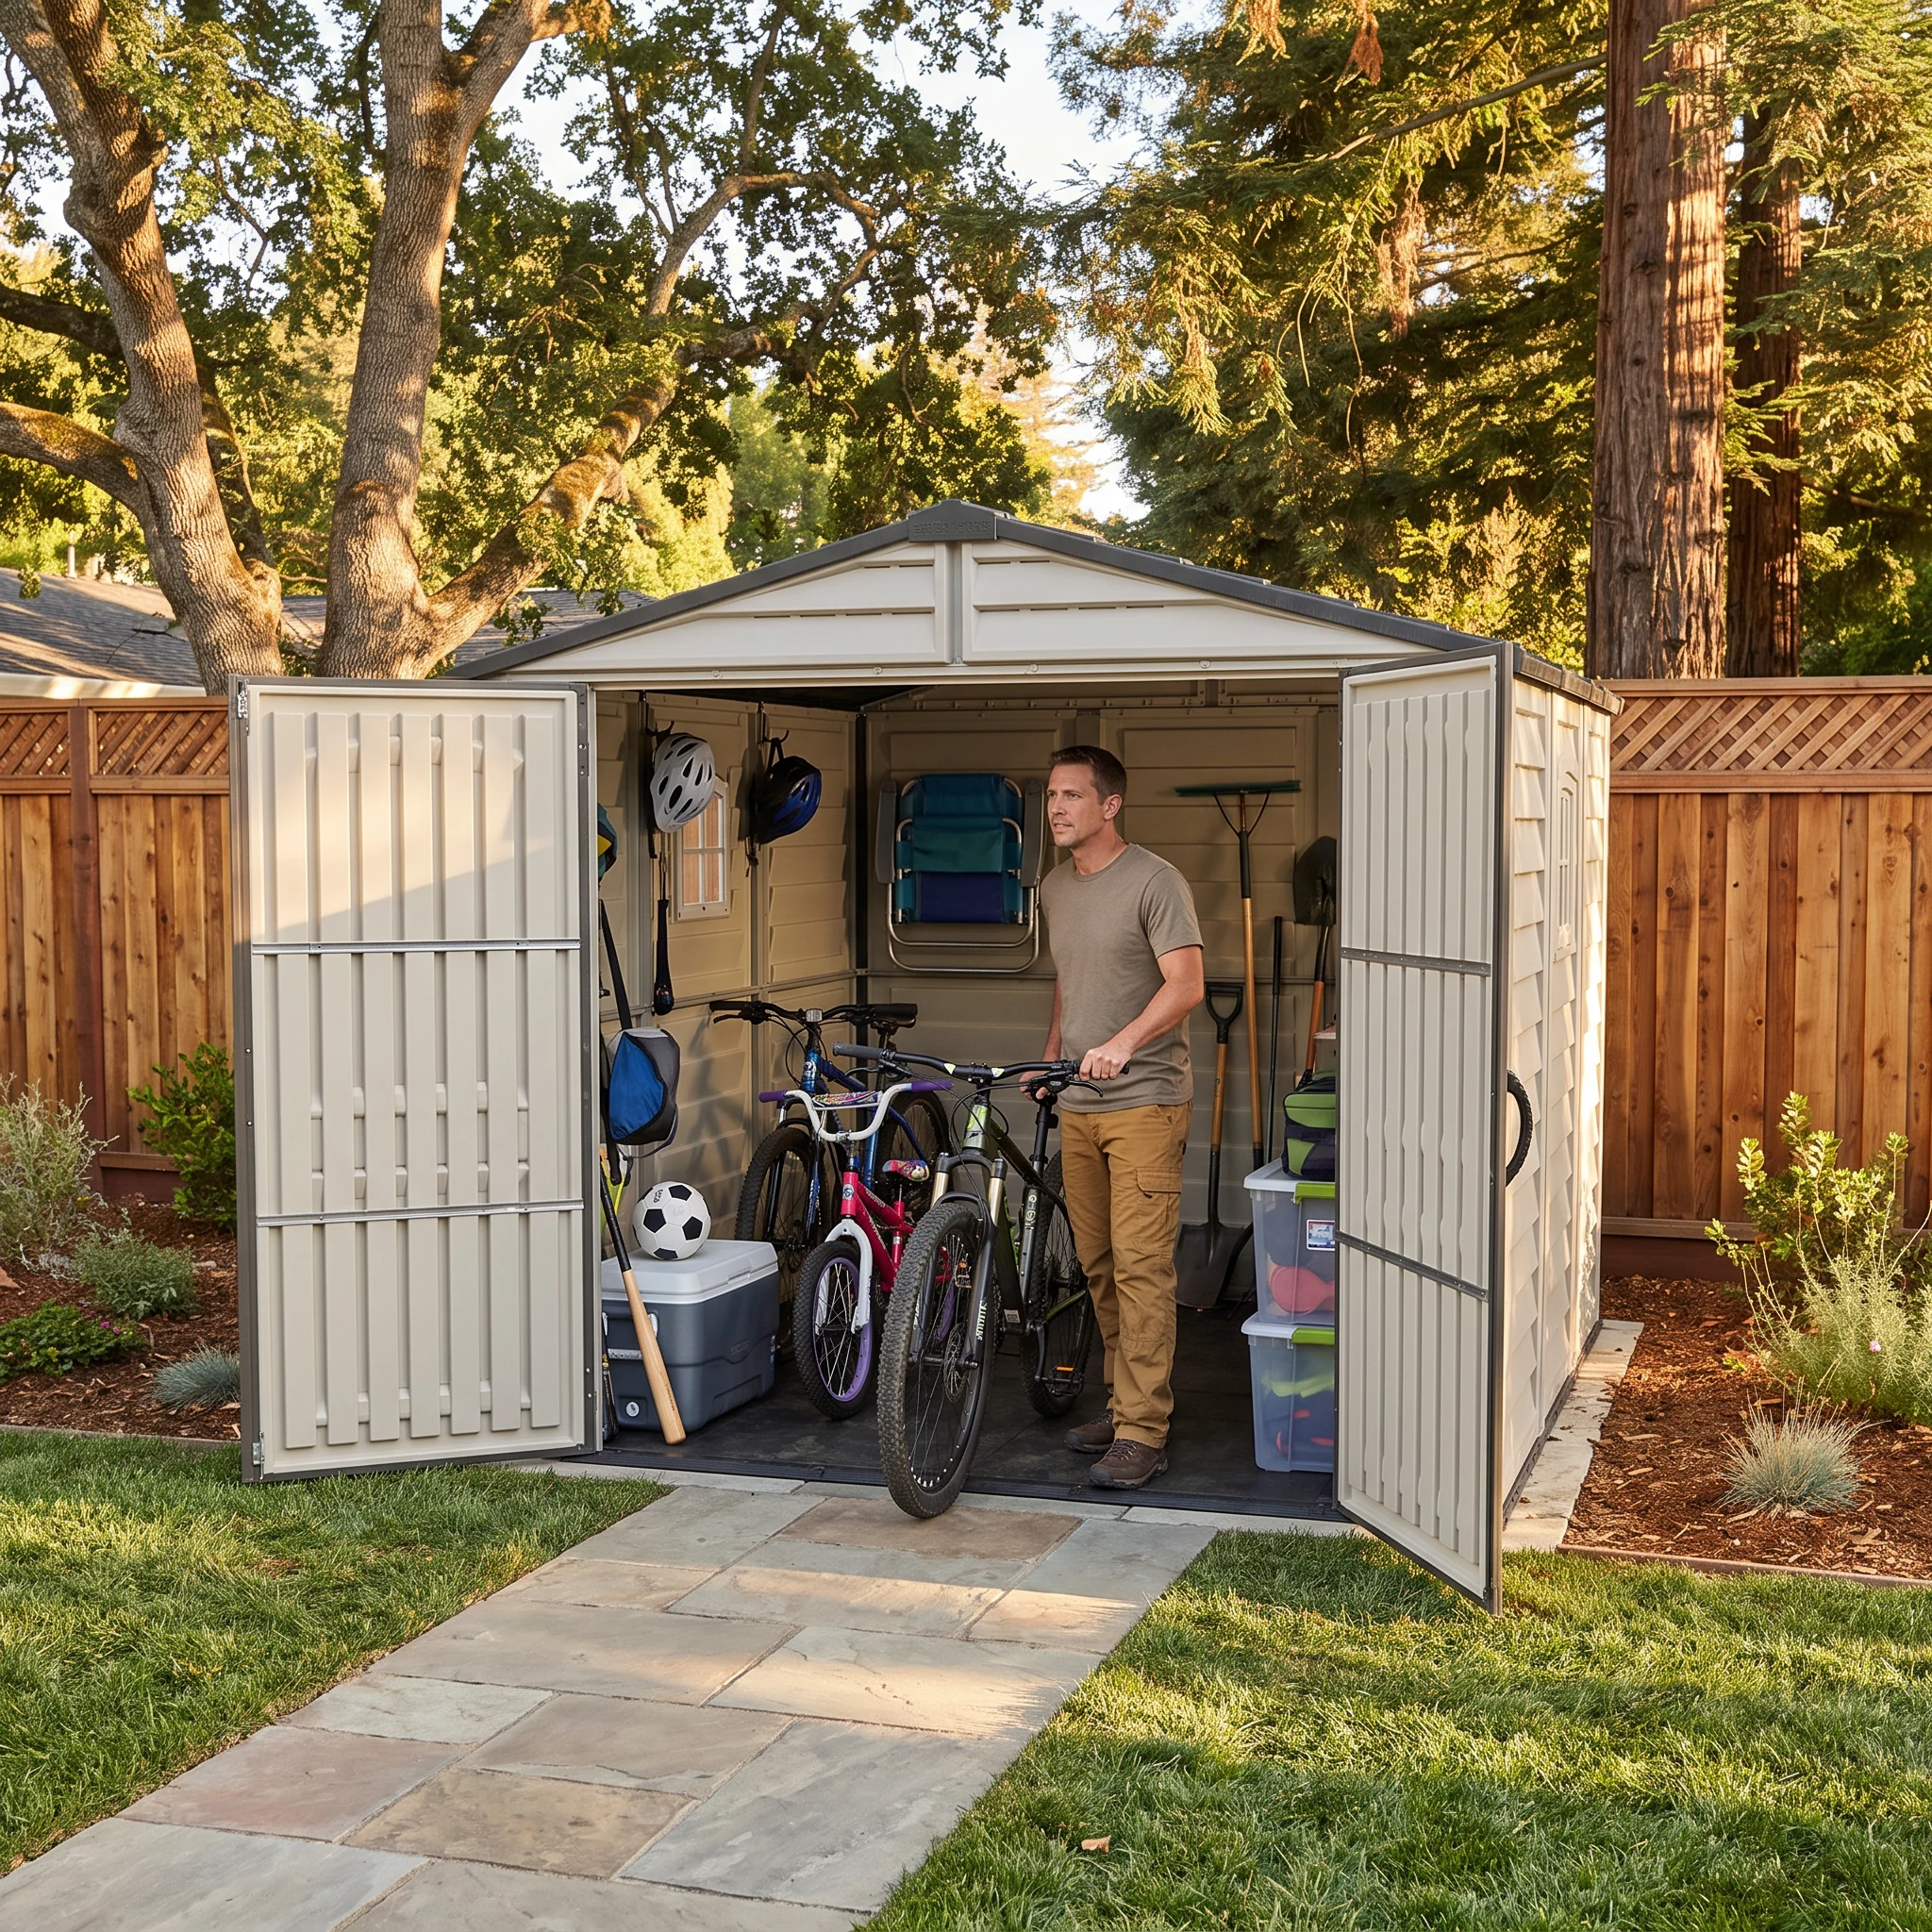
1. Measure your bicycles before choosing the shed
Measure each bicycle’s overall length, handlebar width and height. Include baskets, rear racks, child seats and other accessories that stay attached during storage. Cargo bikes, adult tricycles and bikes with trailers need their own measurements; a standard bicycle footprint will not represent them.
Next, mark the proposed shed interior on a driveway or garage floor with removable tape. Place the bikes within that outline, then practice taking them out in the order you normally use them. Add the footprint of any shelves or storage racks before deciding whether the arrangement works.
This test often reveals the real space requirement. Two bicycles may fit side by side but still interfere at their handlebars or pedals. A layout that requires lifting a heavy bicycle over another one may become frustrating for daily use.
2. Choose your bicycle storage shed layout
A long, shallow shed and a deeper, walk-in building solve different problems. The choice depends on the available yard space, the number and shape of your bikes, and whether you want to store other equipment with them.
Long, shallow storage
A shallow building may suit a property with limited depth beside a patio or boundary. Position the bikes on your taped plan and check how the doorway lines up with them. A wide building does not automatically provide direct access to every part of its interior.
The DuraMax RidgeLine 10×3 is one shallow configuration to evaluate. Confirm the current interior dimensions against your actual bicycles before choosing it. For another approach to restricted outdoor space, read our narrow side-yard shed planning guide.
A deeper, walk-in building
A deeper shed offers more ways to arrange bikes, containers and other belongings around an access route. Consider whether each bike can roll toward the door without rearranging the entire interior.
The RidgeLine 8×8 and RidgeLine 10×8 provide different floor plans to compare. Treat them as starting points for a measured layout rather than assuming a particular number of bicycles will fit.
3. Plan the route outside the door
Check the whole journey from the yard to the bike’s parking position. Gates, tight corners, steps and nearby planting can make access difficult before you reach the shed.
Allow for the shed doors to open as specified and test whether you can approach with the bicycle upright. Think about where you will stand while opening the doors and where a second person or bicycle would wait. Keep the entrance approach available after landscaping or patio furniture is added.
Door width and interior width are separate measurements. Compare both with your equipment, including wide handlebars and attached accessories.
4. Give everyday bikes the easiest parking positions
Arrange your bicycle storage shed around frequency of use. A commuter bike belongs near the entrance; a bike used occasionally can sit farther back if it remains reasonably accessible. Give children a storage position they can reach and use comfortably.
Use freestanding racks or stands that suit the bicycles and available floor space, following their instructions. Vertical storage can change the floor plan, but it also changes how a bike must be lifted and supported. Test that movement before buying a system.
For a vinyl shed, consult the exact model manual before attaching hooks, brackets or racks. Do not assume the wall panels or roof members are approved mounting points. Choose a compatible storage system with documented support and load requirements.
5. Keep riding gear together
A small, defined gear area makes a bicycle storage shed more useful. Group pumps, locks, spare tubes and cleaning accessories in labeled containers or suitable freestanding storage furniture. Follow the storage instructions for helmets and other equipment when choosing what stays in the shed.
Avoid letting loose accessories spread across the bike parking area. Place the items you reach for before a ride where they can be found without moving a bicycle. Keep the doorway, door swing and designed ventilation openings clear.
If the shed also stores gardening equipment, give it a separate position. Test the layout with the mower and other large items included; the available space must serve the complete storage list.
6. Plan the base and floor as part of the project
The surface beneath the bicycles is part of the layout. Review the selected shed’s installation instructions for its supporting base, flooring and anchoring requirements before preparing the site.
Check exactly what comes with the model. For example, RidgeLine models include metal foundation framing, while finished flooring is supplied separately. A foundation frame and a finished floor serve different purposes.
Use the DuraMax installation and parts guide library to find the documentation for the exact model you are considering. Keep the entry threshold in mind when testing how the bicycle will move into the building.
A practical bicycle storage shed checklist
- List every bicycle and accessory that needs a place.
- Measure bike length, handlebar width and attached equipment.
- Compare actual interior dimensions and the clear door opening.
- Mark the interior footprint and test the layout with the bikes.
- Include shelves, racks and other outdoor equipment in that test.
- Check the approach, door swing and space at the threshold.
- Confirm the exact model’s base, floor and installation requirements.
Frequently asked questions
What size shed do I need for two bicycles?
There is no single size that fits every pair of bikes and every layout. Measure both bicycles, include any racks and accessories, and test the arrangement within the shed’s actual interior dimensions. Leave enough room to remove each bike as intended.
Can a garden shed store bikes and a lawn mower together?
It may, depending on the equipment and floor plan. Mark out all the large items together and test their removal routes. The layout should account for whichever item you need most often.
Can I hang bicycles inside a vinyl shed?
Only use a mounting arrangement approved for the exact shed and compatible with the rack. Check the model instructions and rack requirements first. A suitable freestanding system is another option to assess.
How do I avoid buying a shed that feels too small?
Plan for access as well as storage footprints. Include your current gear, other equipment and any likely additions, then physically test the arrangement before purchasing. Our storage shed size guide explains the broader sizing process.
Find a DuraMax shed for your bike storage plan
Start with a measured layout, then compare buildings that support it. Explore the DuraMax RidgeLine collection or use our outdoor storage shed buying guide to review the wider planning process.
When you have a preferred model, find an authorized DuraMax dealer to discuss availability and purchasing options.